Timesheets // Creating time entries
Entering time has been designed to work with either the mouse or keyboard, in particular the, Arrow keys (← ↑ → ↓), Space bar, Enter and Escape keys.
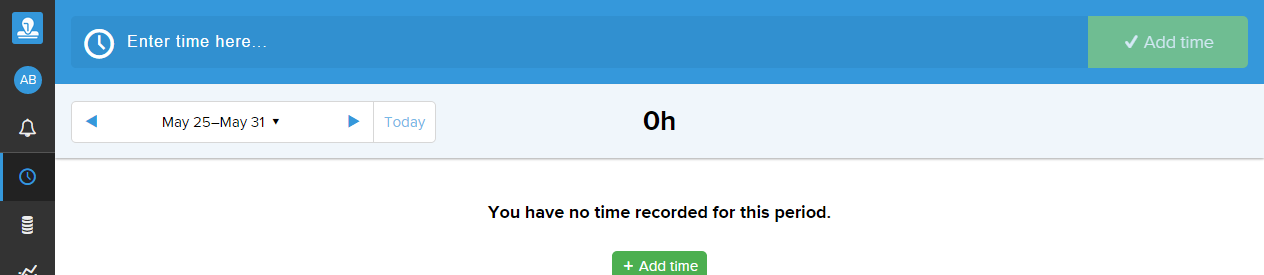
When you sign in to Timestamp for the first time ever, your screen will look like this:
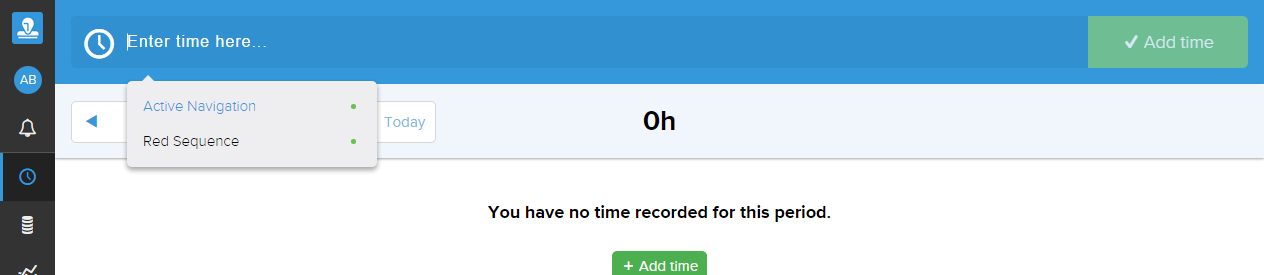
Click into the Enter time here... text box:
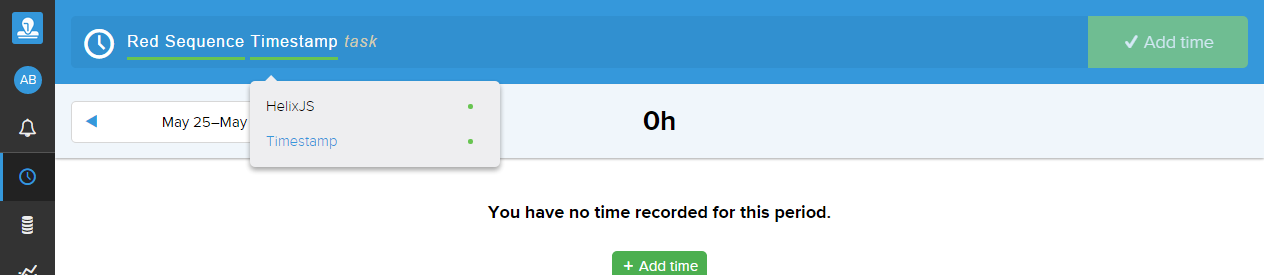
a. You are now presented with a dropdown showing all Clients that you have been explicitly assigned to, and all Public Projects. If you can’t see the Client you’re expecting then contact your Project Manager/support desk:
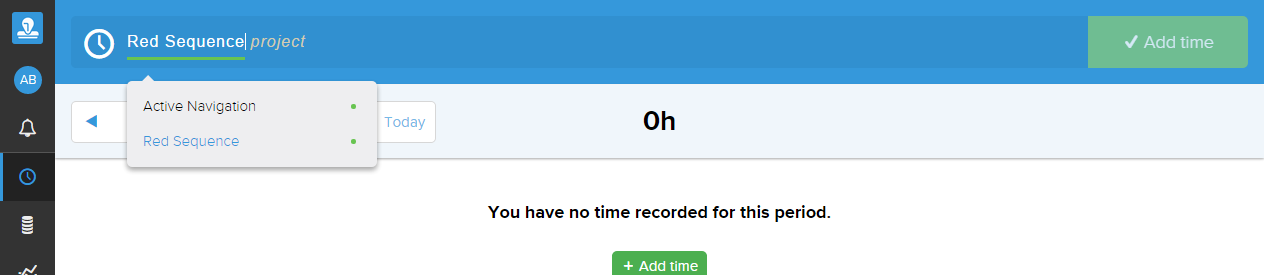
You can either type the Client name or select it from the dropdown. Here we have selected Contoso:
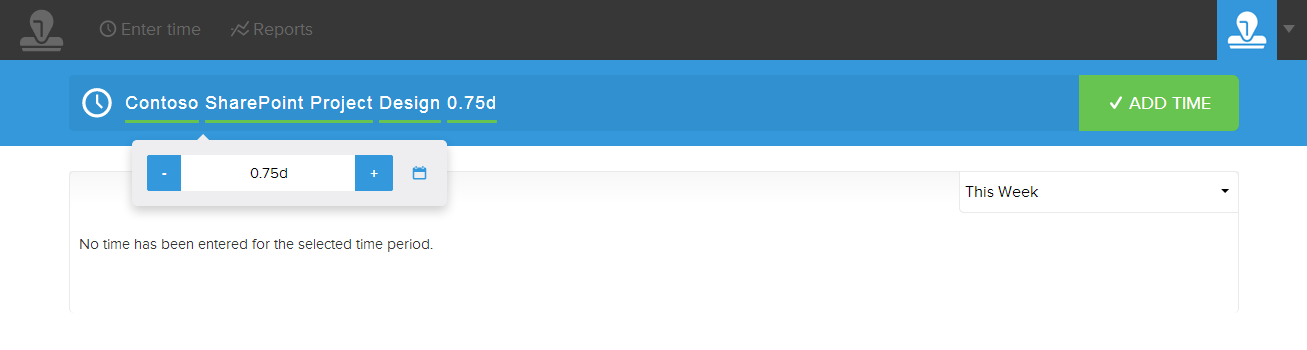
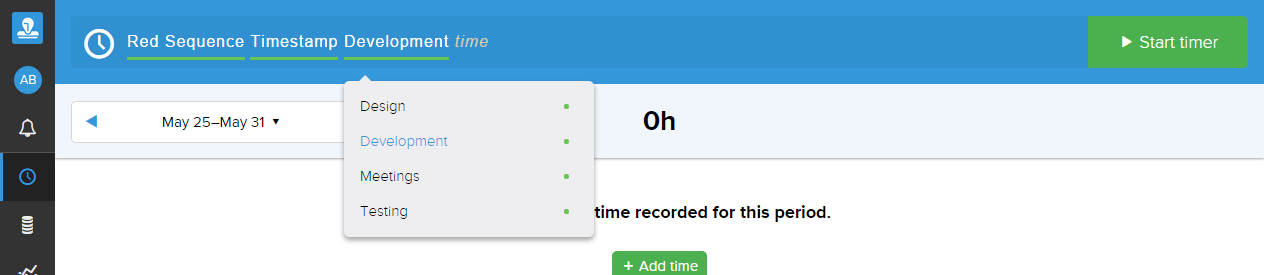
Now choose the relevant Contoso Project. In this case there is only one choice – SharePoint Project. When we select SharePoint Project the following happens:
Now choose the relevant SharePoint Project Task. In this case there are many choices – Analysis, Design, Implementation, Meetings and Testing. When we select Implementation the following happens:
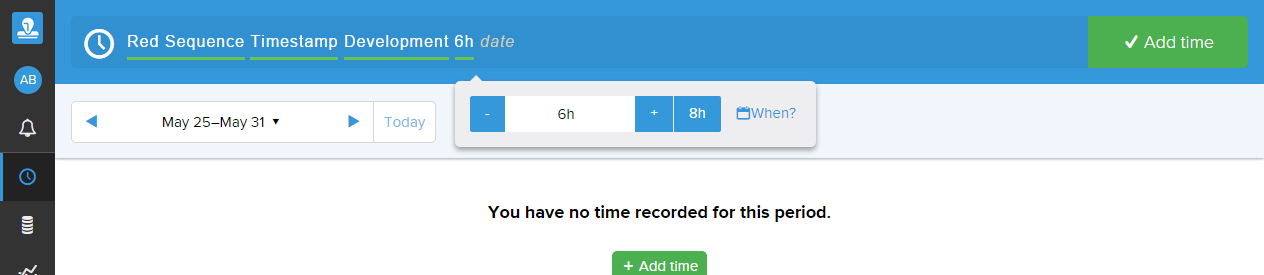
You can now do one of two things:
a. Start a Timer (not covered in this document)
b. Enter the time that you spent doing the Task directly. By default this uses the units chosen by your company (either Days or Hours). Enter a time or press + or -. Values can be entered with an h or d to override the default (e.g. 2h or 0.75d). In this case we use the + button three times to get to 0.75d. The Calendar icon to the right will take you to the day (see step 7)
You have now entered enough information to create a Time Entry. You can now a number of things:
a. Add Time – click the Add Time button or press Enter.
b. Cancel entry – press Escape
c. Enter a Comment inline and Add Time (see step 8)
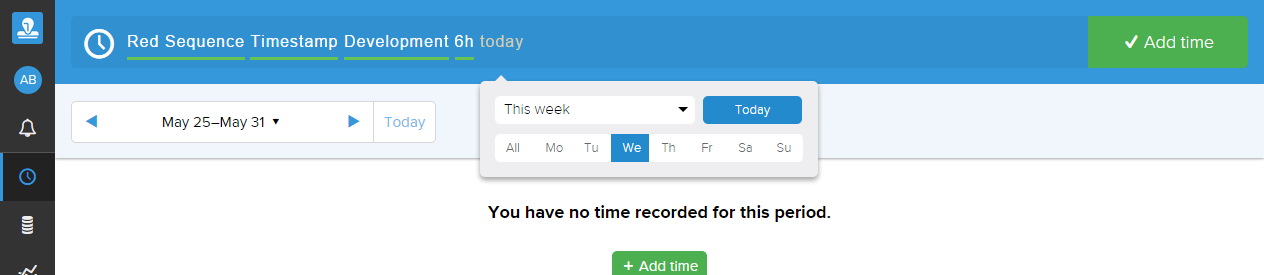
d. Specify the day the Time Entry occurred (defaults to Today). Either press space after choosing a Time (or click the Calendar icon from the Time dropdown) then then choose – Custom (date picker), Yesterday, Today, All (a Time Entry will be added for every day of the week), M, T, W T, F, S and S (Monday – Sunday relative to today):
In this case we selected thursday. We can now:
a. Add Time – click the Add Time button or press Enter
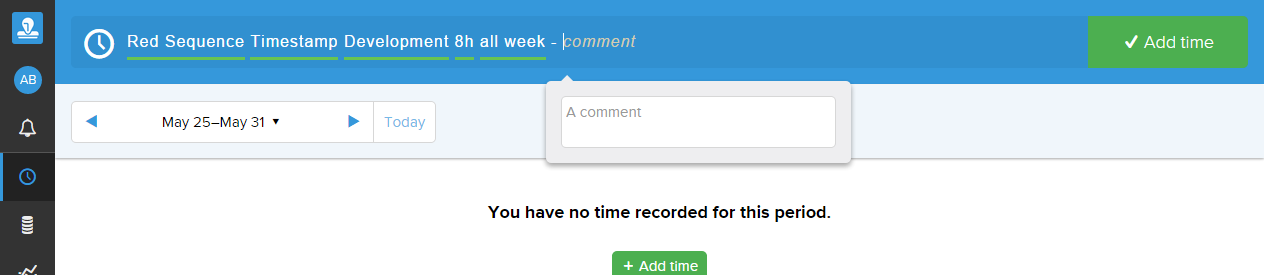
b. Enter a Comment inline by typing a dash, followed by the comment, or using the dropdown:
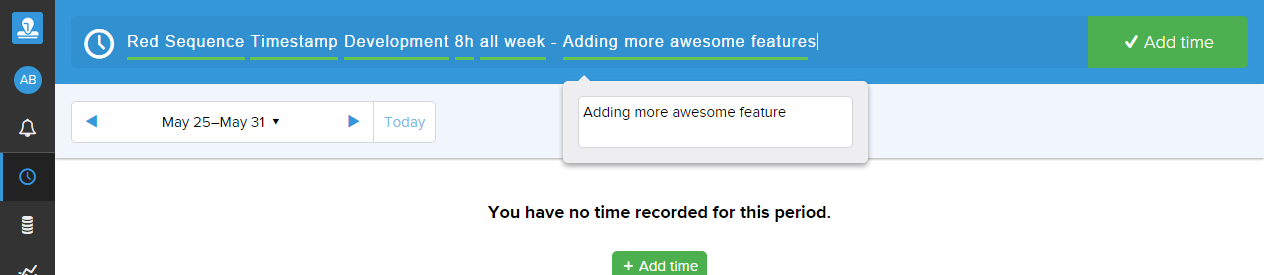
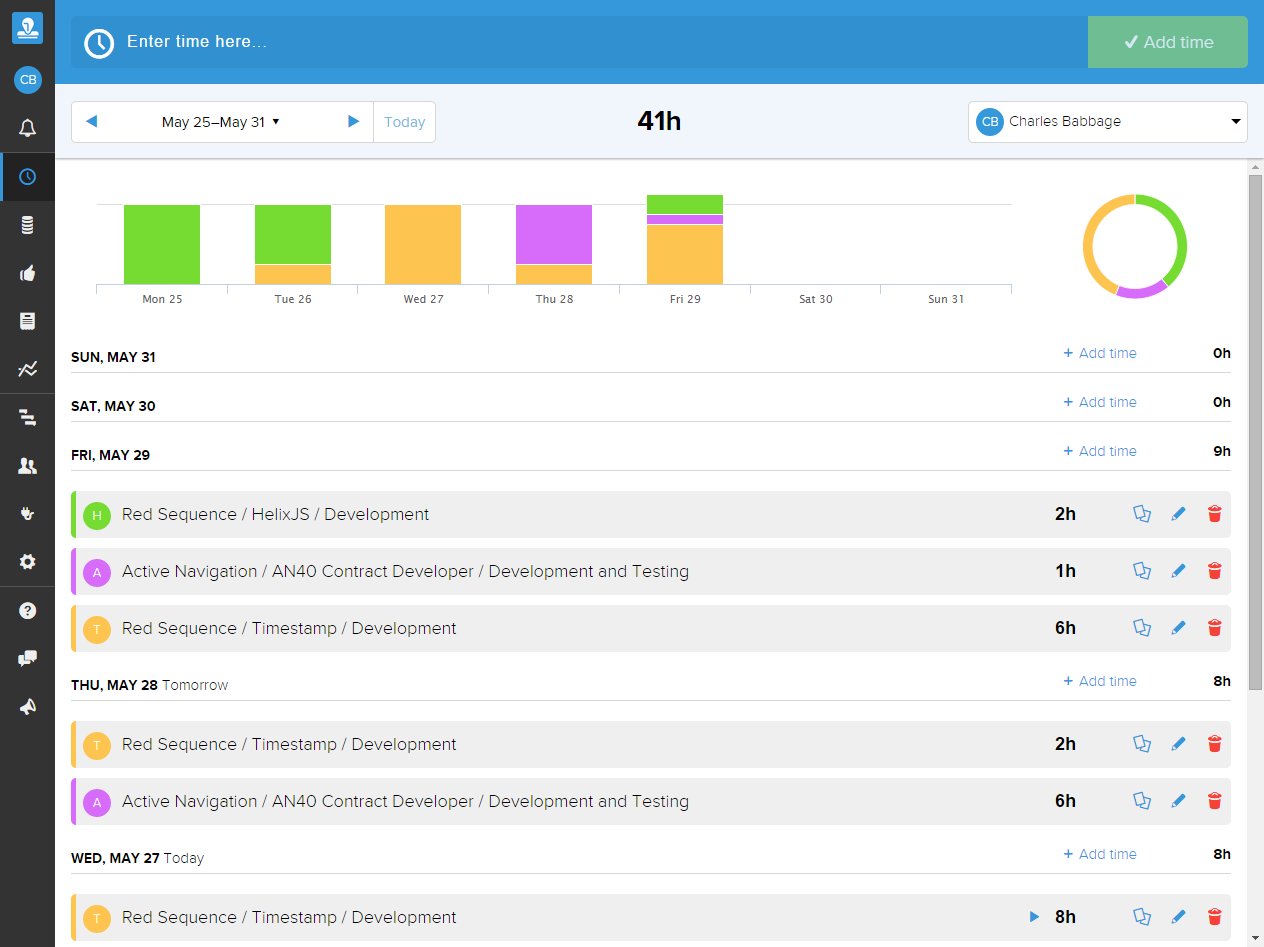
Clicking Add Time will now add that time and add it to the time entry list below:
Making a change before adding time
If you make a mistake and want to fix it before using the Add Time button then either delete the text, or simply select the element you want to change the dropdown will reappear. This example shows clicking on the Implementation Task after having entered a Time and changing it to the Test Task:
Before

After (focus has moved forward to time again):